

Every summer, the same story plays out in backyards across the country. Someone builds a beautiful pergola over a weekend, proud of the clean lines and the shade it throws across the patio. Then a storm rolls through in October, and the whole structure racks sideways or a post pulls loose from the beam. It’s rarely the wood that fails. It’s almost always the connections.
A pergola isn’t just decorative framing; it’s a structure that has to resist wind uplift, lateral sway, and the constant expansion and contraction of wood through the seasons. At Anry Home, we’ve seen enough half-finished pergola projects to know that the difference between one that lasts fifteen years and one that needs rebuilding after two comes down to how the joints are fastened, not how nice the lumber looks.
Where Most DIY Pergolas Actually Fail
The weak points are predictable. Post-to-beam connections take the brunt of wind load, since the beam acts like a lever arm pulling against the post every time there’s a gust. Rafter-to-beam joints face similar stress, especially on larger spans where the rafters overhang the structure. If these connections rely on standard wood screws or, worse, nails, they’ll loosen over time as the wood cycles through wet and dry seasons.
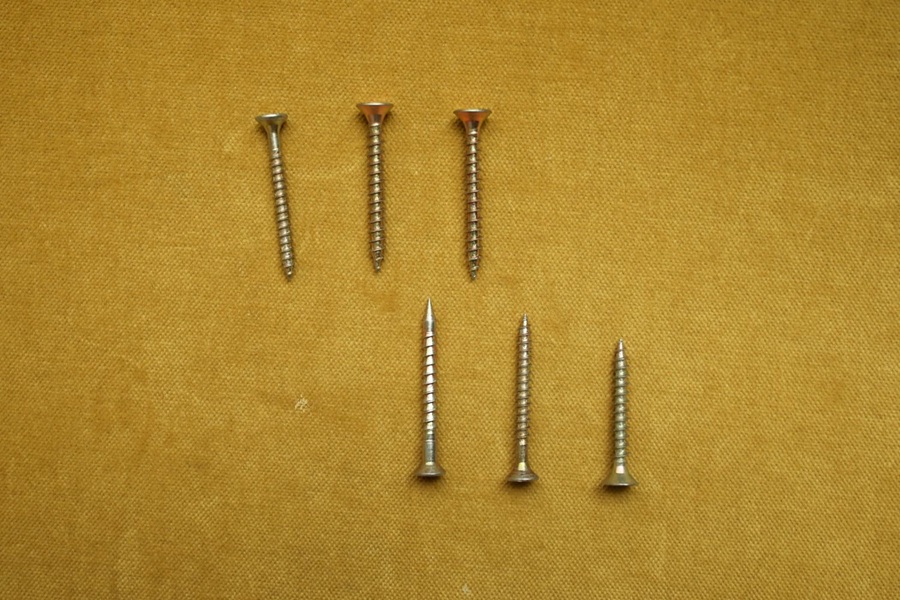
This is exactly the kind of load-bearing connection where structural lag screws earn their reputation. Their coarse threading and larger diameter give them substantially more shear and withdrawal strength than a typical deck screw, which matters when a joint is carrying real weight and constant movement rather than sitting still.
Sizing and Placement
For post-to-beam connections on a standard residential pergola, most builders use lag screws somewhere in the 3/8 to 1/2 inch diameter range, long enough to penetrate at least 1.5 inches into the receiving member. Pre-drilling a pilot hole slightly smaller than the screw’s shank is non-negotiable here. Skip it, and you risk splitting the post, especially with denser woods like cedar or Douglas fir.
Placement matters just as much as size. A single lag screw driven through the center of a joint gives the connection almost no resistance to twisting. Staggering two screws, offset from each other, dramatically improves the joint’s ability to resist both racking and rotation.
Don’t Forget the Footings
Even with rock-solid joinery up top, a pergola is only as stable as what it’s anchored to below. Posts set in concrete footings below the frost line will hold far better than posts simply bolted to a surface-mounted bracket, particularly in regions with real winter freeze-thaw cycles. For anyone wanting a deeper technical reference on footing depth and post anchoring for outdoor structures, the American Wood Council publishes design guides that are genuinely useful even for weekend builders.
Getting the Balance Right
None of this means overbuilding every joint like it’s holding up a bridge. Most residential pergolas don’t need engineer-grade hardware throughout. But the handful of connections doing the real structural work, post to beam, beam to rafter, post to footing, deserve better than whatever’s sitting in the garage toolbox.
That’s really the philosophy behind most of what we cover here at Anry Home: build the parts nobody sees as carefully as the parts everyone admires. A pergola that still stands square after a decade of storms says more about the fasteners inside the joints than the finish on the wood. Get that part right, and the rest of the build tends to take care of itself.
